This article shows you how to implement Google Tag Manager inside of your site.
This has very specific instructions for the tag manager to work well with your sites. This is necessary because we implement AJAX page changes, which means by default, there is no page view event that tag manager relies on after a site visitor changes pages.
This article does not follow Google’s instructions exactly, but have been tested and work correctly. The instructions have been changed from Google’s instructions for the following reasons:
- Google asks you to install the code in the <head> of the site. This is a bad practice for page speed because it will slow down the loading of the site. Due to this, we place it at the bottom <body-end>, so it loads last.
- It is easier to copy code into a single location.
Add Google Tag Manager
Google will give you code embeds that look like the examples below. Both of these need to be installed into the <body-end> of the site.
The below code is just an example - do not copy this directly into your site. Please be sure to obtain the correct code from Google.
|
Script Section |
|---|
<!-- Google Tag Manager --> |
|
NoScript Section |
<!-- Google Tag Manager (noscript) --> |
Set Up Google Tag Manager
This step is critical in allowing Google Tag Manager tracking inside your site.
Next, we need to replace the default All Pages page view trigger with our custom event. Inside of tag manager, we need to first create the custom event trigger:
- Go to Google Tag Manager and sign in.
- On the left, click Triggers.
- On the right side, click the new button.
- Type a name for the trigger at the top left. We recommend something memorable and helpful, such as: Custom Page View Trigger.
- Click the custom trigger configuration box and select Custom Event.
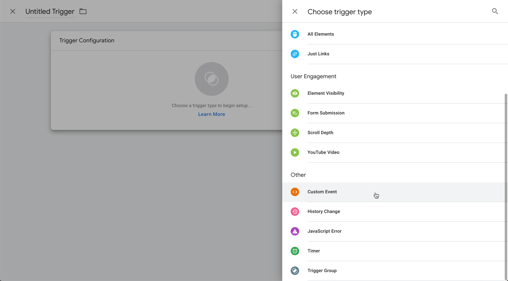
- In the event name box, type dPageView.

- Click save in Tag Manager.
After creating the trigger, we need to apply it to the tags we want. This needs to be done for every tag you use on the site to trigger for page view events. In this example, we apply it for Google Analytics Universal.
- In Tag Manager, go to tags.
- Create a new tag.
- Type a memorable name.
- Click the Tag Configuration box and select the tag you want to use. In this case, Google Analytics Universal.
- After setting up the tag, click the Triggering box. Choose the custom trigger we created Custom Page View Trigger.
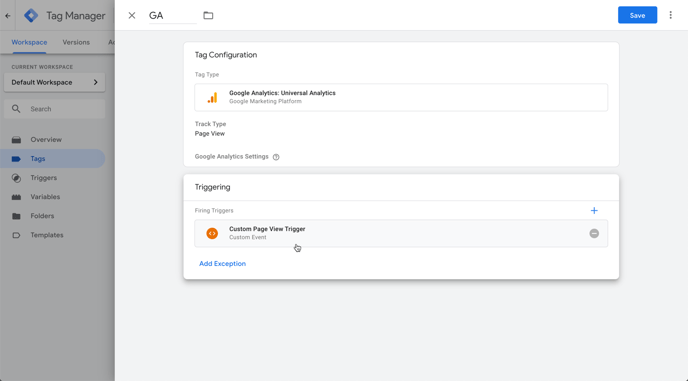
If there’s already the All Pages trigger applied, please delete it. We only need the custom trigger to run.
- Select a new variable.
- Select Google Analytics Settings.
- Type your GA tracking ID, and type a name for your variable at the top.
- Select the variable and click Save.
After you have made these changes to Tag Manager, click Submit and then Publish the changes to the live settings.
Considerations for Google Tag Manager
- This code will only run on the live published site. You will want to make sure you test it on the live version.
- We have completed extensive testing and the body-end.html section of Developer Mode works for adding the noscript code and default code.
- Please do not change the ‘dataLayer’ setting from Google Tag Manager, this will break our custom integration code.